
The RI Hiking Trail Tracker® app lets you record your personal hikes by capturing your route, pace, elevation, and optional details like temperature and weather. These metrics are converted into a points system, designed to gamify your hikes, so that more challenging conditions earn you more points and a little extra bragging rights among friends.
You can create your own groups with friends and family, to complete for who has earned the most points, completed the most miles, gained the highest elevation, or completed the most hikes.
NOTE: To run the app as a web app on an iPhone of Android, review the web app configuration instructions.
Log into the app
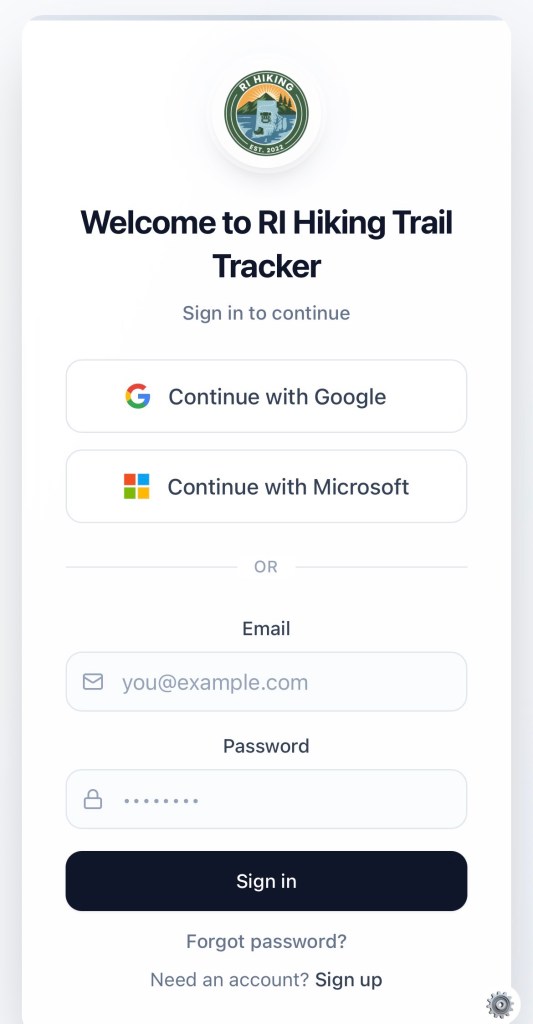
You can either use Google or Microsoft login credentials or create a new account by clicking Sign up at the bottom of the screen.
Home Screen
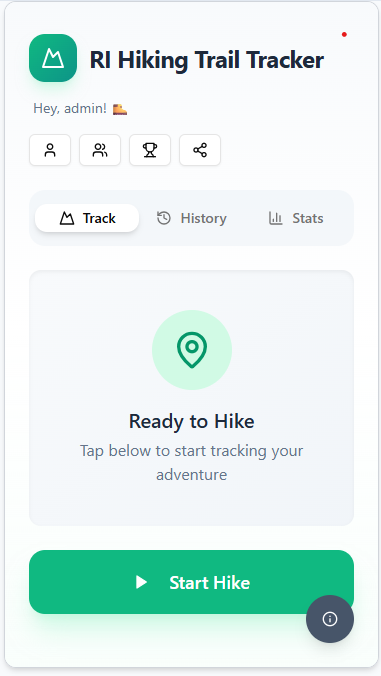
The home screen is the first screen that appears when you start the application. Along the top are four icons for accessing your Profile, Groups, Leaderboard, and Social page.

Additionally, you can see a history of your hikes as well as your personal stats. And finally start a new hike.

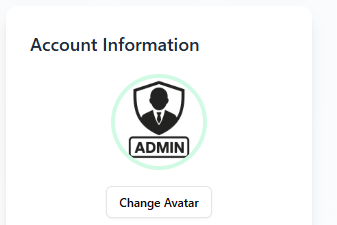
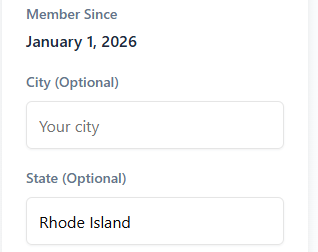
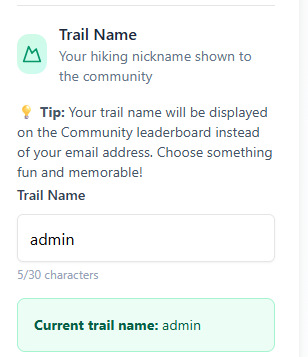
Profile
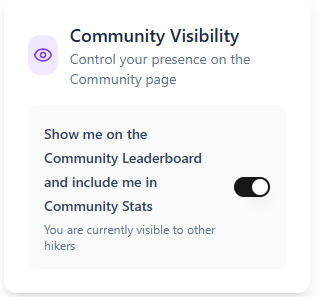
There are several settings you can make on your profile page to customize your account, including your avatar, display name, city, state, trail name. Also, if you want to be visible on the Community leader board, you need to enable this in the Profile menu.
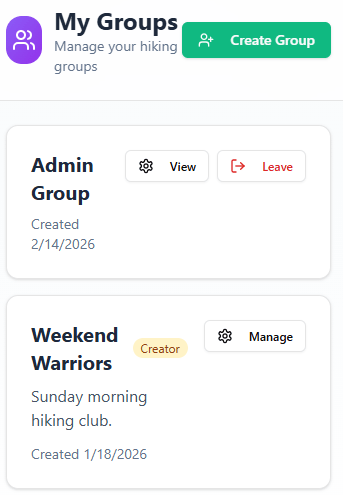
Group
Users can form their own groups with friends and family by selecting “Create Group” and inviting members by trail name or email. Invitations must be accepted before a user is officially added to the group.
Each group features its own leaderboard, and members can leave the group at any time.
Community Board
The community board shows all users who have opted in to be visible on the community board. The board has several filters to see the leaders of the week, month, year, and all time.

Additionally, the board has different views to show leader by points, miles, elevation, and number of hikes.

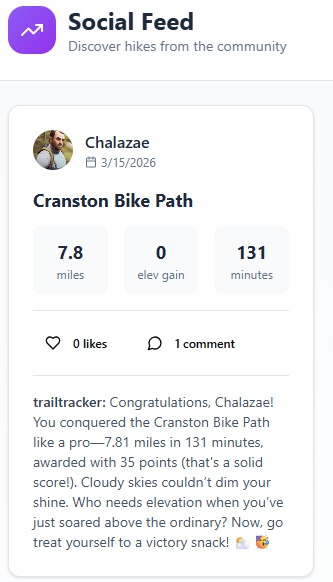
Social Feed
Users are able to share their hikes by posting them to the Social Feed page after they complete a hike. For each hike on the Social page, other users can like it by clicking the heart or they can add a comment.
Start Hike
Usage on how to use the RI Hiking Trail Tracker App and the features of the app, including starting and stopping hikes.
Starting a Hike
App opens up to the home page where you can click “Start Hike” to start the hike.
NOTE: While the hike is active, you can move away to different screens within the app and quickly return to the active hike by clicking the “Active Hike” button in the top right-hand corner of the screen.
While Hiking
While hiking, the app will display a map of your current location and route from the starting point. Additionally, the app shows distance (miles), duration (hh:mm:ss), pace (miles/min), and elevation gain (ft).
Stopping a Hike
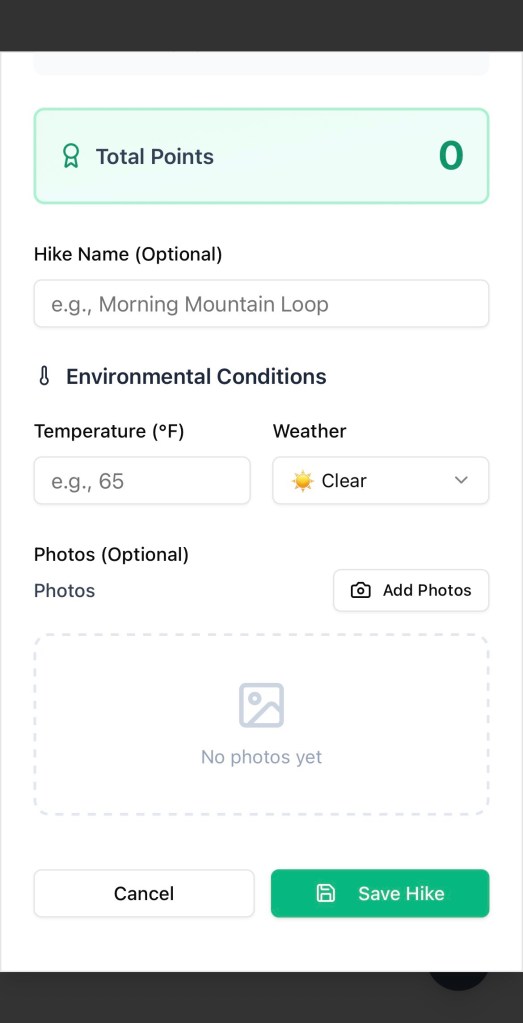
Stop the hike, by clicking the red “Stop Hike” button. The app will then prompt you to add additional information. All additional input is optional.
- Hike Name – provide your own custom name
- Temperature – what was the temperature during the hike. If it is a range, just pick an average temperature.
- Weather – select from the pull down the type of weather conditions. If the weather fluctuated, pick the weather that was most prevalent during the hike.
- Photos – upload photos you would like to remember from the hike.
Click “Save Hike“.
High-Five Active Hikers
What better way to feel encouraged than a high-five from another hiker. The app provides two ways to high-five an active hiker. The active hikers can be seen in the leaderboard or through a pull-down option in the Active Hike window.
Sending a High-Five
Go to the list of active hikers to see the list of people who are actively using the app. Select the person you want to high-five and then click Send High-Five. A pop-up window will appear on the receiving hiker’s screen where they will have an opportunity to reciprocate the high-five.
NOTE: You can only high-five the same person once per session.