The RI Hiking Trail Tracker® app lets you record your personal hikes by capturing your route, pace, elevation, and optional details like temperature and weather. These metrics are converted into a points system, designed to gamify your hikes, so that more challenging conditions earn you more points and a little extra bragging rights among friends.
The app is currently available as a web application for quick access and easy distribution, with an iOS version actively in development for future release on the Apple App Store.
Because the web version must remain open to collect GPS data, it has some limitations. If you’d like to use it, the instructions below explain how to run it in the most effective way an app wrapper called WebApp, available in the Apple App Store. The hike data collected will carry forward to the iOS app when it is released.
If you are tech savvy, the simple instructions in the Quick Start Guide will help you get started. If you need more detailed instructions, use the Detailed Guide section.
Quick Start Guide
- Install the WebApp application from the iOS app store
- Set the URL to Set WEBPAGE URL to https://ri-hiking-trail-tracker.base44.app/ and apply
- When using the app, be sure the “Don’t Sleep” is enabled and the app is running, and screen is not locked
- Click Start Hike to start the hike
- When hiking is active, click Stop Hike and optionally add content to the optional fields
Detailed Guide
Install and Configure
This page will walk you through the steps on how to install the WebApp application that will be needed to run the RI Hiking Trail Tracker app in the most effective way to track hikes.
Install the WebApp application from the iOS app store.

Click the gear icon near “Enter URL of webpage” then
- Set WEBPAGE URL to https://ri-hiking-trail-tracker.base44.app/
- Scroll down and click Apply


Log into the app
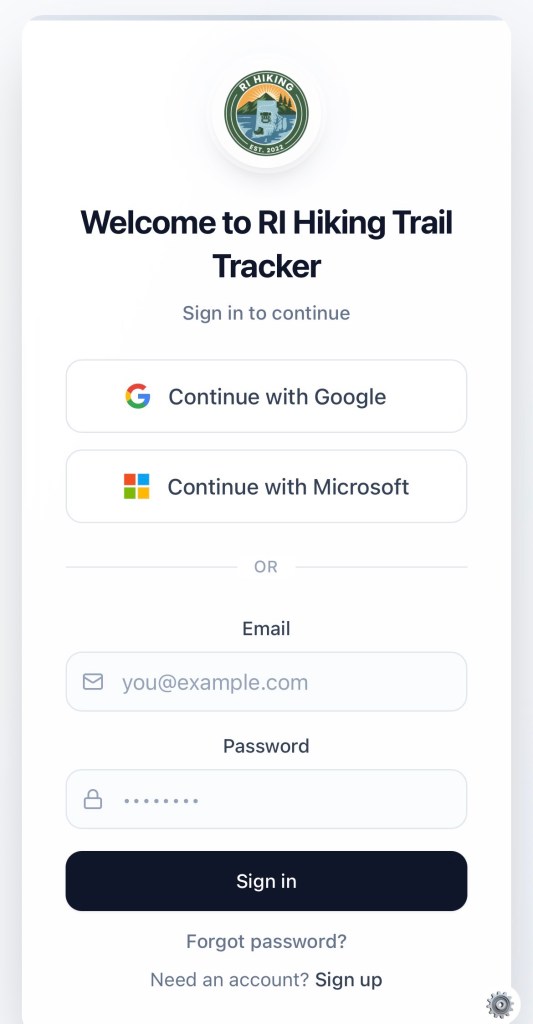
You can either use Google or Microsoft login credentials or create a new account by clicking Sign up at the bottom of the screen.
Personalize
There are several settings you can make to customize the app under Profile.
← Display Name
← City (Optional) – will be used for future app features
← State (Optional) – will be used for future app features
← Trail Name – used in the community page
Operate
Usage on how to use the RI Hiking Trail Tracker App and the features of the app, including starting and stopping hikes.
Starting a Hike
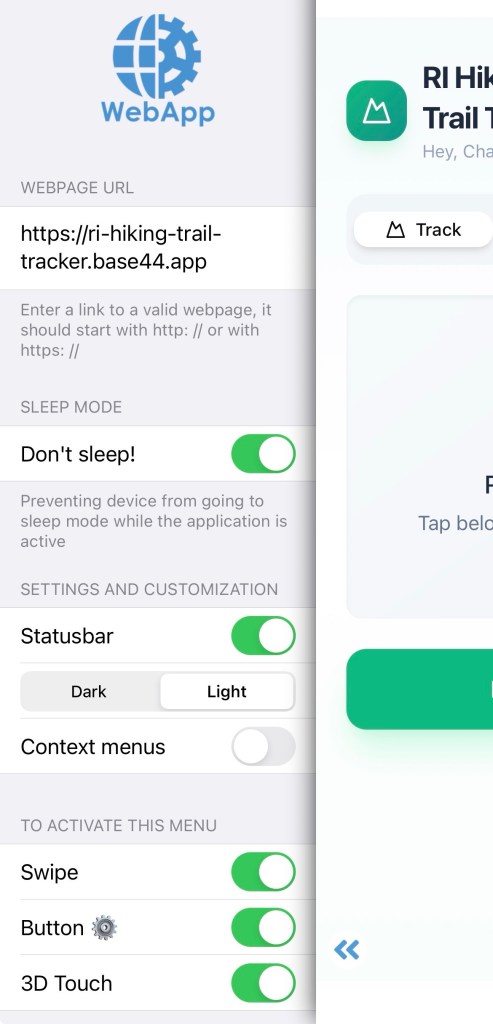
Set app to “Don’t Sleep”
One limitation of the current setup is that the app must remain active to record GPS data. If your iPhone locks or another app takes focus, iOS will suspend the web app and it will stop collecting location breadcrumbs. To prevent this, be sure to enable the “Don’t Sleep” setting so the app can continue running uninterrupted and keep app running.
- Swipe right until you see the configuration menu appear. (NOTE: It may take several swipes if you are within screens)
- Toggle the “Don’t Sleep” so it is enabled (NOTE: The setting does not persist when you close the app)
While keeping the app open and on your screen, click “Start Hike“
While Hiking
While hiking, the app will display a map of your current location and route from the starting point. Additionally, the app shows distance (miles), duration (hh:mm:ss), pace (miles/min), and elevation gain (ft).
REMINDER: You must keep the app visible on your iPhone to prevent the app from being suspended. A suspended app will stop recording GPS location breadcrumbs.
Stopping a Hike
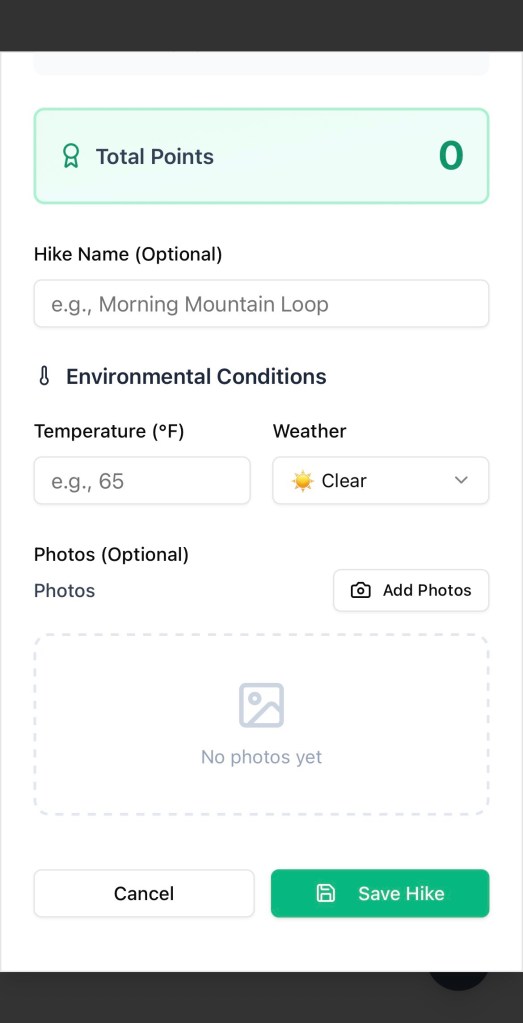
Stop the hike, by clicking the red “Stop Hike” button. The app will then prompt you to add additional information. All additional input is optional.
- Hike Name – provide your own custom name
- Temperature – what was the temperature during the hike. If it is a range, just pick an average temperature.
- Weather – select from the pull down the type of weather conditions. If the weather fluctuated, pick the weather that was most prevalent during the hike.
- Photos – upload photos you would like to remember from the hike.
Click “Save Hike“.